전체목차 : https://gauryan.tistory.com/214
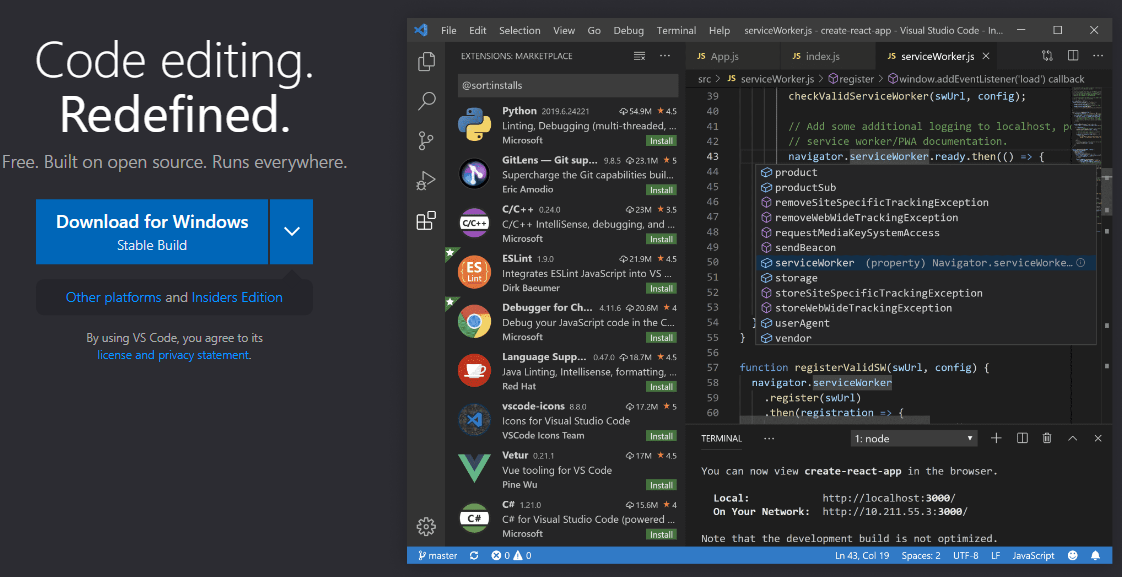
이제, 본격적으로 시작해봅시다. 우선, https://code.visualstudio.com/ 에서 Visual Studio Code를 다운로드하여 설치합니다. 에디터는 자신이 원하는 다른 것(IntelliJ IDEA, Atom, Eclipse 등)으로 하셔도 괜찮습니다.
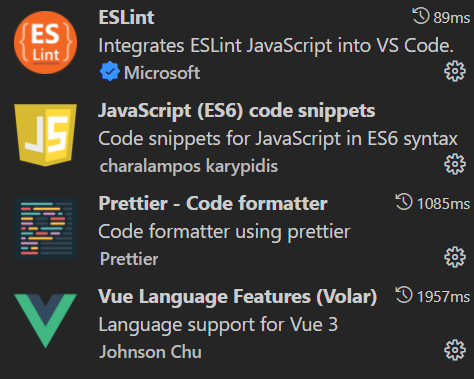
Vue.js 3에 관련된 확장프로그램은 아래와 같이 설치하였습니다.
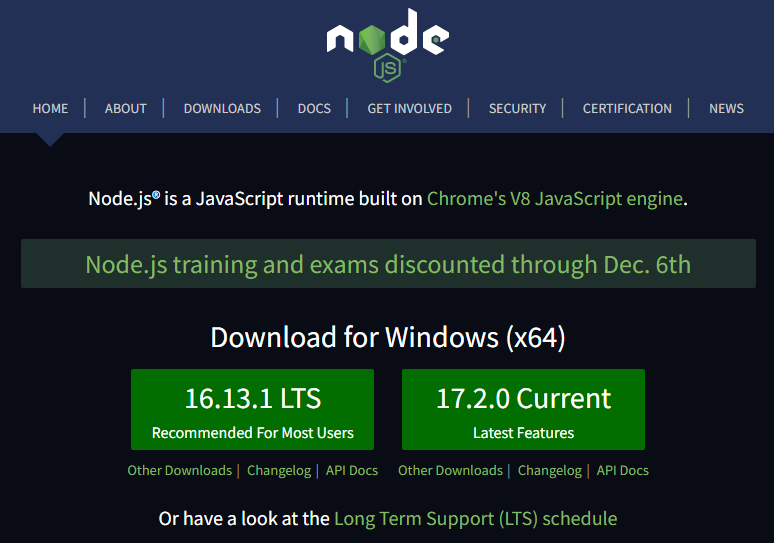
https://nodejs.org/ 에서 Node.js를 다운로드하여 설치한다.
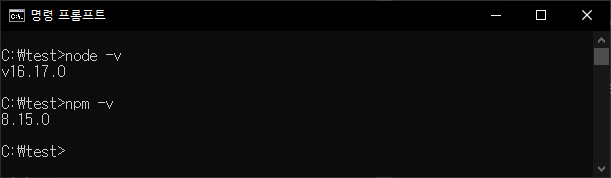
node.js 설치를 마치고 다음처럼 설치가 잘 되었는지 확인해보자~! 저는 LTS버전을 설치했는데, 아무거나 설치하셔도 됩니다.
Vue 3 프로젝트를 생성합니다. > npm init vue@latest
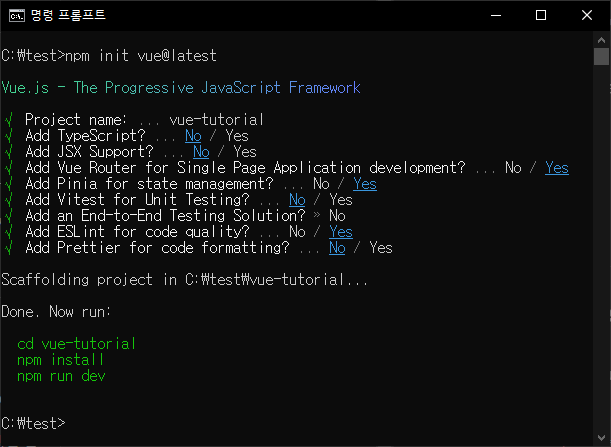
Vue Router, Pinia, ESLint 등을 선택하였다.

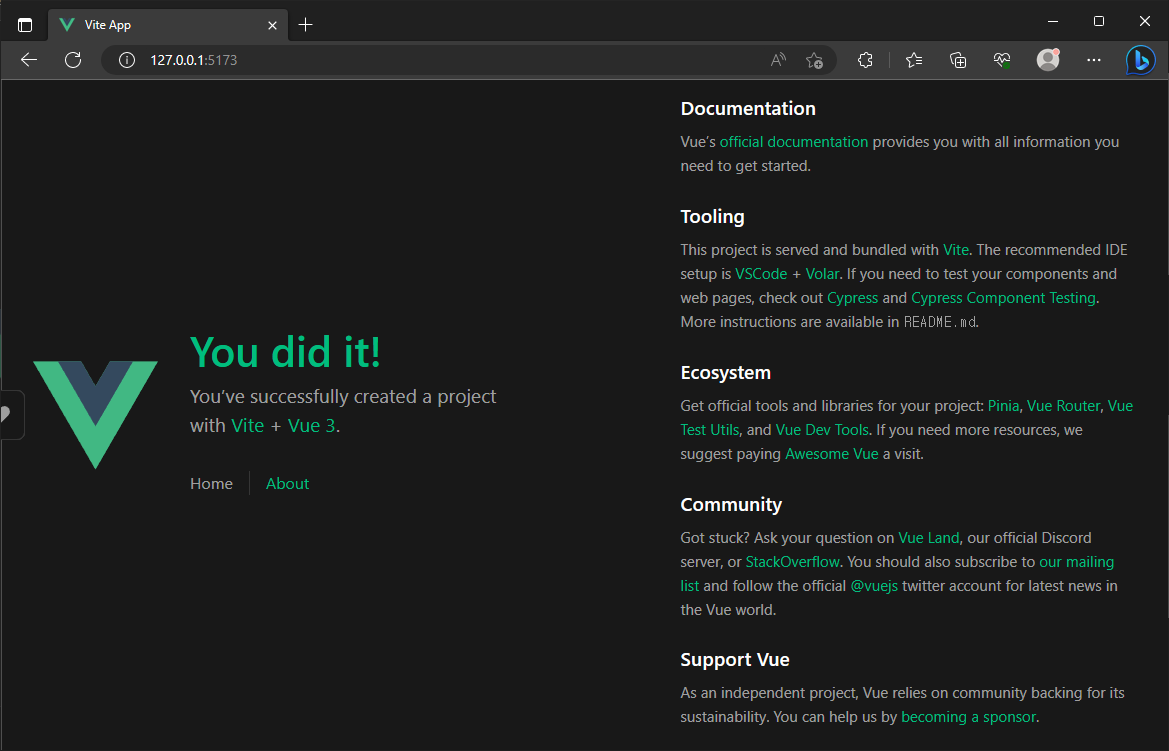
이제, 웹브라우저에 http://localhost:5173 으로 접속하면, 아래와 같은 화면이 나오게 됩니다. 그러면 일단 성공~!!!
프로젝트 폴더에서 VS Code를 실행해봅니다. 아래처럼...

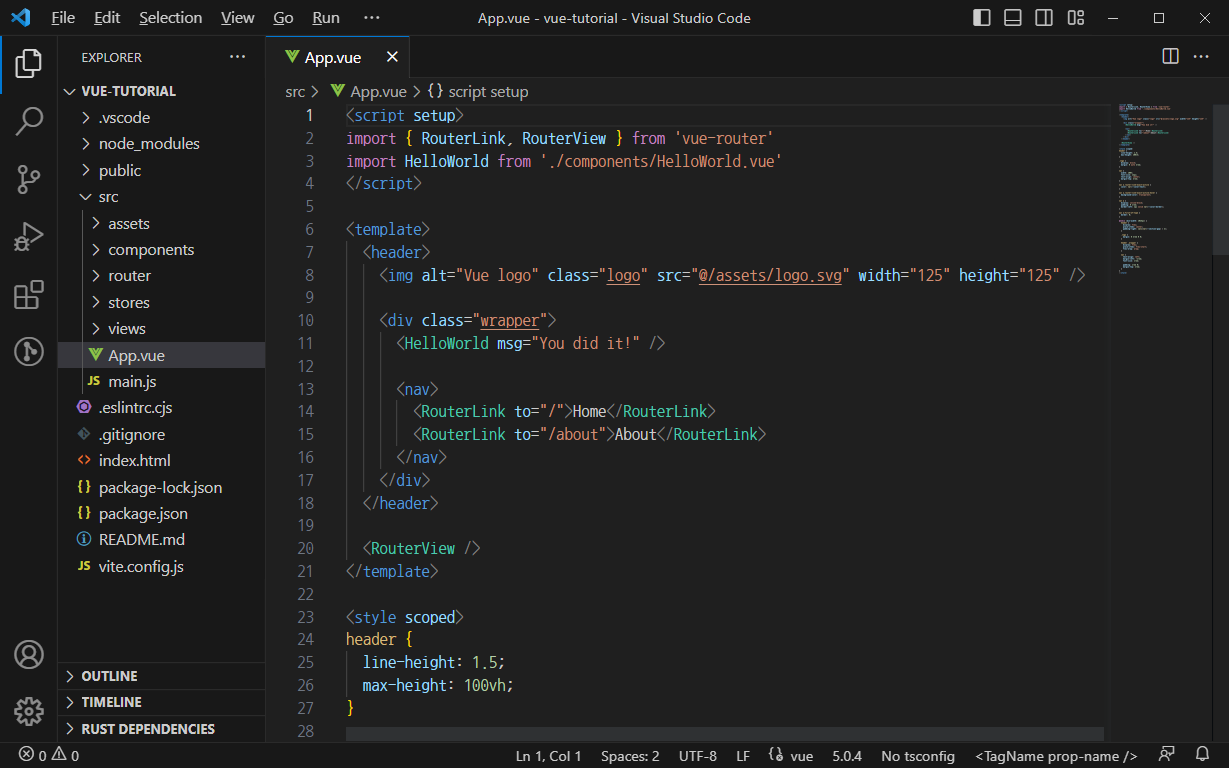
프로젝트의 디렉토리 구조를 유심히 봐주시고, 어떤 파일들이 있는지도 눈여겨 봅시다. 각 디렉토리와 파일에 대해서는 다음 글에서 설명하도록 하겠습니다.
ESLint 설정을 위해서, View 메뉴의 Command Palette 를 선택(단축키: ctrl+shift+p)하고, Open User Settings (JSON)을 입력한다. 그러면, settings.json 파일이 열리며, 아래 내용을 추가해준다.
{
  "editor.formatOnPaste": true,
  "editor.formatOnSave": true,
  "editor.codeActionsOnSave": {
      "source.fixAll": true
  },
  "javascript.format.insertSpaceBeforeFunctionParenthesis": true,
  "javascript.format.placeOpenBraceOnNewLineForControlBlocks": false,
  "javascript.format.placeOpenBraceOnNewLineForFunctions": false
}
.eslintrc.js 파일에는 rules 안에 다음을 추가해준다. 개인적으로는 세미콜론을 사용하는 것을 선호하며, Camel Case 를 사용하기도 하지만, Snake Case 도 함께 사용한다.
rules: {
..
  // 'semi': [2, 'always'],
  'semi': 'off',
  'camelcase': 'off',
  "prettier/prettier": [
    "error",
    {
      "endOfLine": "auto",
      "printWidth": 160,
    }
  ],
..
}
File > Preferences > Configure User Snippets > New Global Snippets File... 메뉴를 선택하고, vue3 를 입력한다. 그리고, vue3.code-snippets 파일에 다음을 입력해준다. 이렇게 하면, vue 파일을 생성하고, 에디터에서 vue3 라고 입력하면 미리 입력된 코드조각을 쉽게 넣을 수 있다. 자신의 코드스타일에 맞추어서 바꾸는 것도 괜찮을 듯 한다.
	"Initialize Vue3": {
		"scope": "vue",
		"prefix": "vue3",
		"body": [
			"<style scoped>",
			"</style>",
			"",
			"<template>",
			"</template>",
			"",
			"<script setup>",
			"// import { ref } from 'vue'",
			"</script>",
			""
		],
		"description": "Initialize Vue3"
	}
src/components/HelloWorld.vue 파일을 삭제하고, src/assets/logo.png 파일도 삭제합니다. 그리고, src/App.vue 파일을 아래처럼 수정해주세요. ~.vue 파일은 뷰컴포넌트를 의미합니다. 뷰컴포넌트는 script, template, style 로 구성됩니다.
<style scoped>
h1 {
text-align: center;
}
</style>
<template>
<h1>Hello, World~!</h1>
</template>
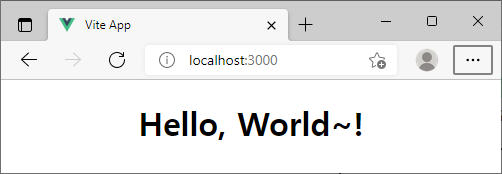
<script setup></script>이렇게 저장하고, 웹브라우저를 보면 아래처럼 Hello, World~! 출력될 거에요. 앞으로 우리는 App.vue 에서 대부분의 작업을 할 예정입니다.
Bootstrap 도 설치해봅시다.
> npm i bootstrap
> npm i @popperjs/core
Bootstrap 을 적용하려면, main.js 파일을 열어서 아래 내용을 추가한다.
import "bootstrap/dist/css/bootstrap.css";
import "bootstrap/dist/js/bootstrap.js";
또는, App.vue 파일에서 <style>바로 아랫줄에 bootstrap.css파일을 임포트하고, <script> 아랫줄에는 bootstrap.js 파일을 임포트해준다. 아무래도, main.js 파일에 적용하는 것이 더 간편할 듯 하다.
<script setup>
import "bootstrap/dist/js/bootstrap.js";
...
<style scoped>
@import "bootstrap/dist/css/bootstrap.css";
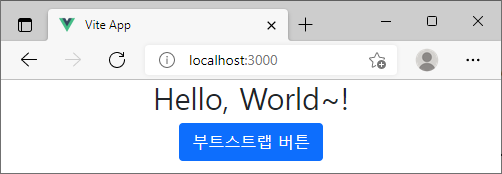
...그리고, 다시 src/App.vue 파일을 아래처럼 수정해본다.
<script setup></script>

<template>
<div>
  <h1>Hello, World~!</h1>
  <button class="btn btn-primary">부트스트랩 버튼</button>
</div>
</template>

<style scoped>
div {
  text-align: center;
}
</style>
이제, 진짜 마지막 화면입니다. 부트스트랩 디자인 버튼을 하나 만들었는데, 잘 나오네요.
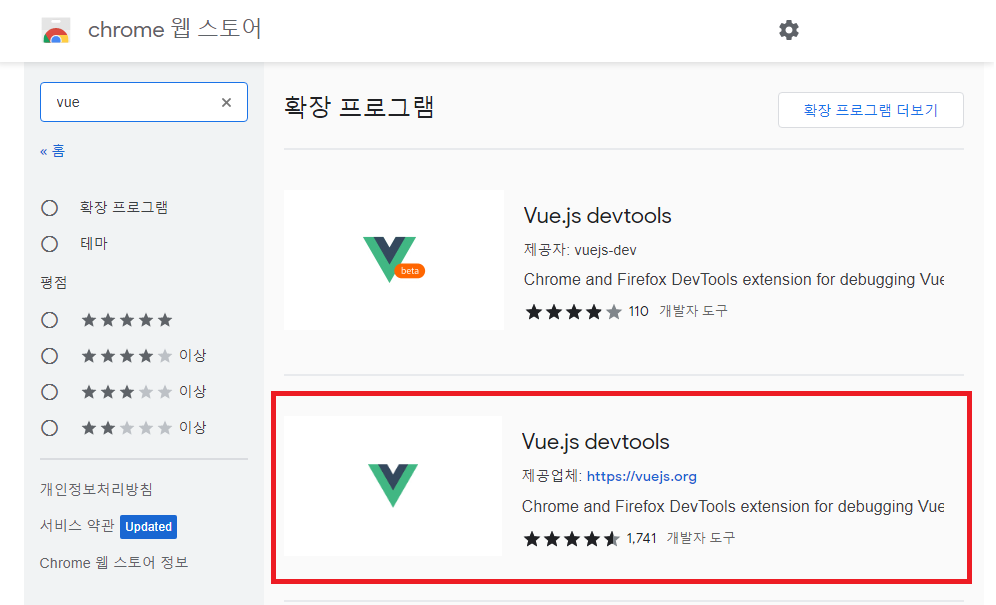
마지막으로, 크롬 확장프로그램을 설치할거에요. chrome 웹 스토어에서 vue를 검색하여, Vue.js devtools를 설치합니다. 크롬에서 Vue 디버깅할때 아주 유용하다고 합니다.
'Language > Javascript' 카테고리의 다른 글
| Vue.js 3 강좌 (with Bootstrap, script-setup) (0) | 2022.02.04 |
|---|---|
| Vue3 에서 같은 path (같은 컴포넌트) 를 호출할때 리로드하기 (0) | 2022.02.04 |
| Vite + Vue3 + Javascript + Electron 를 이용한 데스크탑 앱 개발 환경 (0) | 2022.01.25 |
| 폴더와 파일에 대한 설명 : Vue.js 3 강좌 (with Bootstrap, script-setup) (0) | 2022.01.23 |
| 개발환경 구성과 프로젝트 생성 (Hello World) : Svelte 3 강좌 (0) | 2021.12.24 |